

The Ultimate Guide to Dry Sift Hash
Dry sift hash is one of the simplest and most effective ways to create a high-quality solventless concentrate. Unlike bubble hash, which uses cold water to separate trichome heads, dry sift relies on a mechanical process of sieving cannabis over a series of mesh screens. This straightforward method doesn’t require water or solvents, making it an affordable and appealing option for hashmakers who want to experience the fully cured flavor and potency of their material.
Dry sift requires significant time and labor, making it impractical for commercial production. Instead, it shines as an affordable and accessible way for small-batch hashmakers or home enthusiasts to turn high-quality cannabis material into exceptional hash.


How to Make Dry Sift Hash Using Sift Screens
Tools and Materials You'll Need:
-
High-quality dried and cured cannabis (trim or flower buds)
-
Sifting screens with varying micron sizes
-
Plastic card (credit card, gift card, hotel key etc.)
-
Nitrile gloves
-
N95 Mask (recommended)
Pro Tips for Superior Dry Sift Hash
-
Work in a cold environment with cold tools: Just like in ice water extraction, lower temperatures help prevent trichomes from becoming sticky and clumping together. Before starting this process we recommend putting your tools in the freezer.
-
Patience pays off: Be patient during the sifting process to prevent plant contamination.
-
Refinement is key: The further you can refine your material the more likely you will be able to achieve higher grades of dry sift hash
Step 1: Choose High-Quality Starting Material
The quality of your dry sift hash starts with your cannabis. Choose strains known for heavy resin gland production. You should fully cure and dry the material, but avoid making it overly dry, as this can lead to excessive plant material in your sift. If your material isn’t top-notch, your dry sift won’t be either.
Step 2: Chill Everything Down
Temperature control is key. The colder the environment, the easier it is to separate trichomes without contamination.
-
Turn down the AC
-
Put your plastic cards and dabber tool in the fridge until fully chilled.
-
Wear nitrile gloves to minimize heat transfer from your hands.
Step 3: Set Up Your Screens
Stack your sifting screens in order from largest mesh (highest micron) on top to smallest (lowest micron) on the bottom. A typical setup might look like:
-
Top screen: 355-micron (largest filter)
-
Bottom screen: 51-micron (smallest filter)
Place them on a sturdy, waist-height surface where you can work comfortably that has little to no draft. You favorite screens come from


Step 4: Break Down the Material
-
Place about an ounce of dried, cured cannabis onto the top screen.
-
Gently rub the material between your hands, allowing it to fall onto the screen. Think of it like polishing a car. Circular motions, light pressure.
-
Repeat for about 100 gentle passes, then stop. Over-processing will break down plant material and contaminate your sift.
Step 5: Begin Sieving
Once you’ve finished sifting on the top screen, remove it to reveal the layer of kief below. This first pass still has some plant contaminants, so now we refine it.
Even with careful sifting, tiny bits of plant material end up mixed with the trichome heads. These particles are similar in size to the resin glands, which makes them difficult to separate through traditional screening. To reduce contamination, extractors use plastic cards to gently push the sift across the keeper screens. This helps smaller debris fall through while keeping the trichomes on top.
Using a cold plastic card, start the Carding Technique:
-
Lightly push the sift back and forth across the next screen.
-
The goal is to separate trichome heads from the smaller bits of plant matter.
-
Keep your card cold. Swap it with another from the fridge if needed.


Step 6: Collect and Store
-
Once your sift is properly refined, use a cold plastic card to gently scrape it into a collection pile.
-
Store your dry sift in an airtight glass jar or parchment paper, and keep it in a cool, dark place.
-
For long-term storage, a vacuum-sealed glass jar in the fridge or freezer is ideal. Just make sure to let it reach room temperature before opening to prevent condensation.
Congratulations. If you made it here you have made dry sift hash!
What To Do With Dry Sift Hash
Once you’ve successfully sifted and cleaned your hash, the real question is, what’s next? Dry sift is one of the most versatile forms of solventless hash and can be enjoyed in several ways, depending on your preference.
-
Dab It: If your dry sift is properly cleaned and melts completely without leaving much residue, you can dab it just like rosin or full-melt bubble hash. This is the highest quality of dry sift.
-
Press It into Rosin: Not all dry sift is dab-ready, but it can still be pressed into rosin for a cleaner, more potent extract.
-
Sprinkle It on Flower (Twaxing): For a potency boost, sprinkle dry sift on top of a bowl, mix it into a joint, or coat the outside of a pre-roll in concentrate and roll it in sift for an extra kick. This method is great if you don’t have the equipment to dab or press it.
-
Infuse It into Edibles: Because dry sift is rich in cannabinoids and terpenes, it can be easily decarboxylated and infused into butter, oil, or other fats for making potent edibles. Since it contains far less plant material, it produces cleaner-tasting infusions.
-
Store It for Later: If you're not using it immediately, store your dry sift in an airtight glass jar in a cool, dark place. For long-term storage, vacuum sealing and refrigeration can help preserve terpenes and potency.
Whether you dab it, press it, or infuse it, taking the time to properly sift and clean ensures the best experience possible. We recommended cleaning your dry sift with a static tech method.
Dry Sift Common FAQs
Should I use dry ice?
No, dry ice is too cold and makes the trichome heads brittle, causing them to break apart instead of staying intact. This leads to more contamination and lowers the overall quality of your sift.
Can you make full melt hash from dry sift?
No, because dry sift is made from dried and cured buds. Once cannabis is dried and cured, the trichome heads lose some of their structure and don’t retain the same properties needed for true full melt.
Are dry sift and kief the same thing?
Yes and no. Like many terms in the cannabis industry, it depends on who you ask and where you are in the world. Both kief and dry sift come from mechanically sifting plant material through a screen, but dry sift is typically further refined using additional sieving or static tech. Kief still contains more plant contaminants, making it less pure than properly refined dry sift.
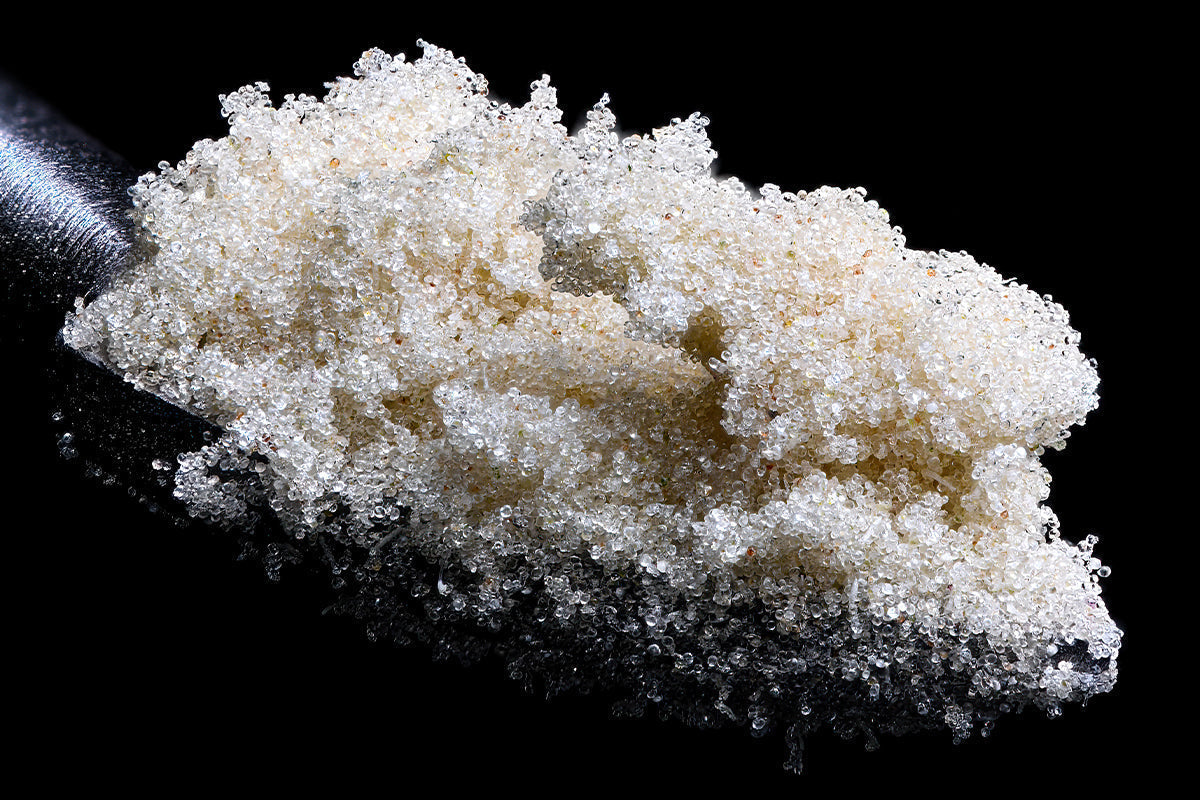
What color should I aim for?
High-quality dry sift should have a light, creamy color, indicating a clean and well-refined product. If the sift appears darker, it likely contains plant material that wasn’t fully separated during the screening process. Properly cleaned dry sift should have a tan to almost white hue, showing that most contaminants have been removed.
Why is my dry sift green?
A green tint in your dry sift means there is still plant material contamination. This can happen if the sifting process was too aggressive or the screens weren’t fine enough to properly separate the trichome heads. Using static tech can help remove contaminants and improve the color.